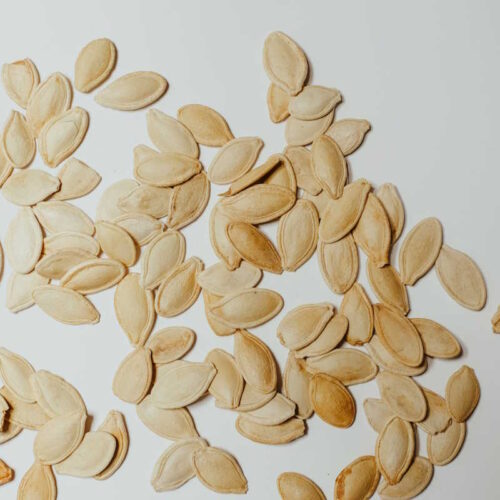
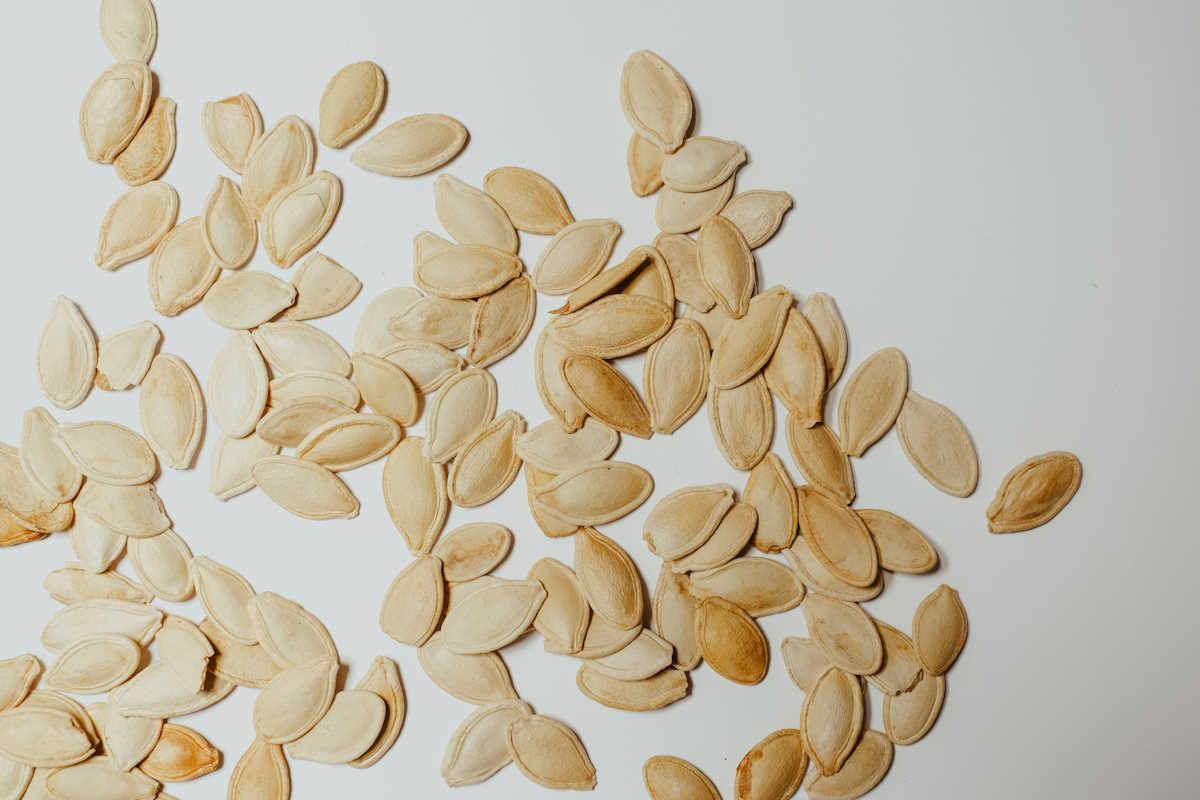
Here’s a delicious and healthy snack recipe that’s perfect for pumpkin season. Although you could enjoy it any time of year, we think you’ll want to save it for October. We have a long-standing pumpkin carving tradition in our home, and we look forward to it every Halloween, it wouldn’t be the same without it. We enjoy visiting the pumpkin patch with our sons for a fun-filled day before the competition begins. It’s always a challenge to see who can create the best design, and we can’t wait to see what everyone comes up with each year.
Once you’ve carved out your vibrant orange pumpkin, you may be left wondering what to do with the remaining bits. Fear not, there are plenty of options and we’ll be sharing several pumpkin recipes on this topic soon, including a special pumpkin-themed package in October. For now, let’s focus on a simple and tasty recipe for roasted pumpkin seeds with savory seasonings that you can easily get at your local grocery store. And our favorite flavour is salt and vinegar, so this is what we’ll be taking you through in this recipe.
If you are looking for more great seasonal recipes then take a look at Nutriciously’s 7 day vegan meal plan for fall and winter (affiliate link), and enjoy healthy, colourful, and cosy meals and snacks! Perfect for the colder weather.
Salt and Vinegar Roasted Pumpkin Seeds Ingredients
Raw pumpkin seeds
Traditional balsamic vinegar (or rice vinegar)
Plain salt

How To Make Roasted Pumpkin Seeds The Easy Way With No Oil
So here is our step-by-step guide for the easiest way to roast pumpkin seeds without any oil. You are going to need to get the messy bit out of the way first.
We are assuming at this point that you have started with a whole pumpkin, and you’ve taken the top off and (as gross as it sounds) are now staring down into a bowl of pumpkin guts.
At this point in our home, we’ve normally got the kitchen table set up with a large plastic tablecloth, the whole family is getting involved, everyone has a large carving pumpkin in front of them. You’ll need a couple of simple bits of kitchen equipment too, like a strong metal spoon for scooping, a large bowl, a colander or a sieve, and a glass jar or two.
So with the tops off your pumpkins, you’ll notice that most of the seeds are attached to the lid and the inner walls of your pumpkins by a load of fleshy stringy bits. This is where the large spoon is needed. You must scoop out all of the seeds, by scraping at the walls and lid of the pumpkin with the strong spoon you have. Place the seeds with all the big chunks of pulp into the large bowl you’ve gotten ready, don’t worry, that was the hardest part.
From your pile of pumpkin mess that you have scooped out and put aside, you first need to pick out every seed that you can find, and while you doing it squeeze off what flesh you can. Place them into a colander as you separate each seed from the pumpkin pulp. You can also use a different piece of kitchen equipment, like a sieve or similar device in which the pumpkin seeds can sit and water can run over them, without losing them down the sink.
You should wash all the raw seeds under cold water, removing all of the remaining orange soft bits until you have nothing left but squeaky clean seeds. We’ve not found a better way to clean pumpkin seeds yet other than just rubbing them between your fingers under cool running water, and simply prying off any remaining fleshy bits. You could do this in a bowl of cool water if you wanted, we just think it’s easier if everything isn’t swimming around like a watery pumpkin soup.

Next up you are going to place all your seeds into a jar or a tub, whatever you have to hand, it doesn’t have to be an airtight container, we normally use a couple of old jam jars or a big pickle jar depending on how many seeds we’ve got. Pour over the seeds enough vinegar to completely submerge them, ensuring that they can all soak well. To make sure they take on as much flavour as possible, you should let them sit in the vinegar for 24 hours. You could leave the soaking for less time than this, but we promise these little guys will be much tastier if you leave them be. The following day, once 24 hours have passed, drain away the vinegar by emptying the jar of vinegar and seeds through a sieve or colander.
Set your oven to 200°C / 180°C Fan / 390°F / Gas Mark 6. Next, you should prepare a baking sheet with parchment paper, which you can spread your seeds onto. Lay them out evenly and importantly in one single layer. This will make sure that your roasted seeds all cook evenly. If you have any piled up on each other then they’ll still likely be a bit chewy when the others have already cooked into the tasty crunchy snack we’re after.
Once you’ve distributed all of your vinegar-soaked seeds onto baking trays lightly sprinkle them all with some fine salt while they are still wet. Not completely drying the seeds after draining off the vinegar helps the salt stick to them. This isn’t just for flavour either, the salt helps to dry out the seeds while they roast.
Now you can place the seeds into the oven, preferably on the middle rack. The cooking time can vary a bit depending on the size of the seeds because they do come in different sizes. And if one batch has smaller seeds than normal they may not take as long.
We have found though that a roasting time of around 20 minutes is best. We’d strongly recommend you take them out of the oven at least once, halfway through cooking. Shake them up a bit and turn them over. They shouldn’t have much moisture left on them after cooking for ten minutes, but this helps to make sure your whole batch is still drying out evenly.
It’s a simple rule though, they are done when you have a whole batch of dry seeds that are crisp, and full of flavour, and if you’ve used regular carving pumpkin seeds, they’ll be golden brown too. You aren’t baking Yorkshire puddings here though, you can open up the oven and check them as often as you want. Nothing is going to sink or collapse when roasting pumpkin seeds.
And that’s all there is to it, you’ve roasted your own pumpkin seeds. A simple recipe for a great tasting, nutritious snack. You can also try out our vegan kale crisp recipe for another tasty snack recipe.
Trust us when we say you will not be able to put these down once you start eating them. They are so tasty after marinating in the tangy vinegar, seasoned with salt, and roasted to perfection. Better still, perhaps this year, nothing from your pumpkins went to waste.


HOW TO ROAST PUMPKIN SEEDS THE EASY WAY WITH NO OIL – SALT AND VINEGAR FLAVOUR
Equipment
- 1 large metal spoon
- 1 colander or sieve
- 1 baking tray
Ingredients
- Raw pumpkin seeds
- Traditional balsamic vinegar or rice vinegar
- Plain salt
Instructions
- Scoop the seeds and pulp out of the pumpkin using a large metal spoon
- Separate the seeds from the flesh of the pumpkin by hand
- Place seeds into a colander and rinse them under cold running water, removing any remaining pulp just by peeling it off with your fingers
- Move the seeds into a container, preferably one with a lid such as a jar or plastic tub, and pour enough vinegar over them so that every seed can soak for 24 hours
- Next, drain the vinegar off and place the seeds, in a single even layer, onto paper-lined baking trays
- While they are still wet, sprinkle them with the plain salt
- In an oven preheated to 200°C / 180°C Fan / 390°F / Gas Mark 6 roast the seeds for 20 minutes, mixing them up once on their trays halfway through cooking
- Cook them until all the seeds are dry and crisp and just barely golden brown
RECIPE FAQS
CAN I USE SEEDS FROM OTHER TYPES OF SQUASH?
Yes, you can use seeds from other types of squash, such as butternut squash, acorn squash, or spaghetti squash, instead of roasting pumpkin seeds. Squash seeds are similar in texture and can be roasted in a similar way to create a tasty and nutritious snack.
HOW LONG DO ROASTED PUMPKIN SEEDS STAY FRESH?
- Room Temperature: If kept in an airtight container at room temperature, roasted pumpkin seeds can stay fresh for about 1 to 2 weeks. However, their crispiness may diminish over time.
- Refrigeration: Storing roasted pumpkin seeds in an airtight container in the refrigerator can extend their freshness. They can last for up to 2 to 3 months when refrigerated. This is a good option if you want to prolong their shelf life.
- Freezing: For the longest shelf life, consider freezing roasted pumpkin seeds. Place them in an airtight container or a resealable freezer bag, and store them in the freezer. When stored in the freezer, roasted pumpkin seeds can remain fresh for up to 6 months or longer.


